Free iPhone Photography Course
Module 1: Grip Guide.
100% free.
Start instantly.
No registration required.
The #1 iPhone photography problem. Your grip.
Default iPhone grip.

Standard framing. Standard result.
How to hold your iPhone and frame your subject.
Better iPhone grip.

Clearer framing. Stronger result.
Next: Video 2.
✅ Grip Guide. 10 minutes to get started.
👉 Watch the video now.

From snapshot to standout piece.

Made to look beautiful on your wall.
In this free iPhone photography course,
you’ll find the key grip visuals from Video 2.
Clear and easy to revisit.
💡 Tip: You can also use the volume buttons for a steady photo.
Hold your iPhone lower and closer to the scene.

One-handed iPhone grip at chest level.

A beautiful iPhone photo with Piximeo.

One-handed iPhone grip at chest level.

A beautiful iPhone photo with Piximeo.
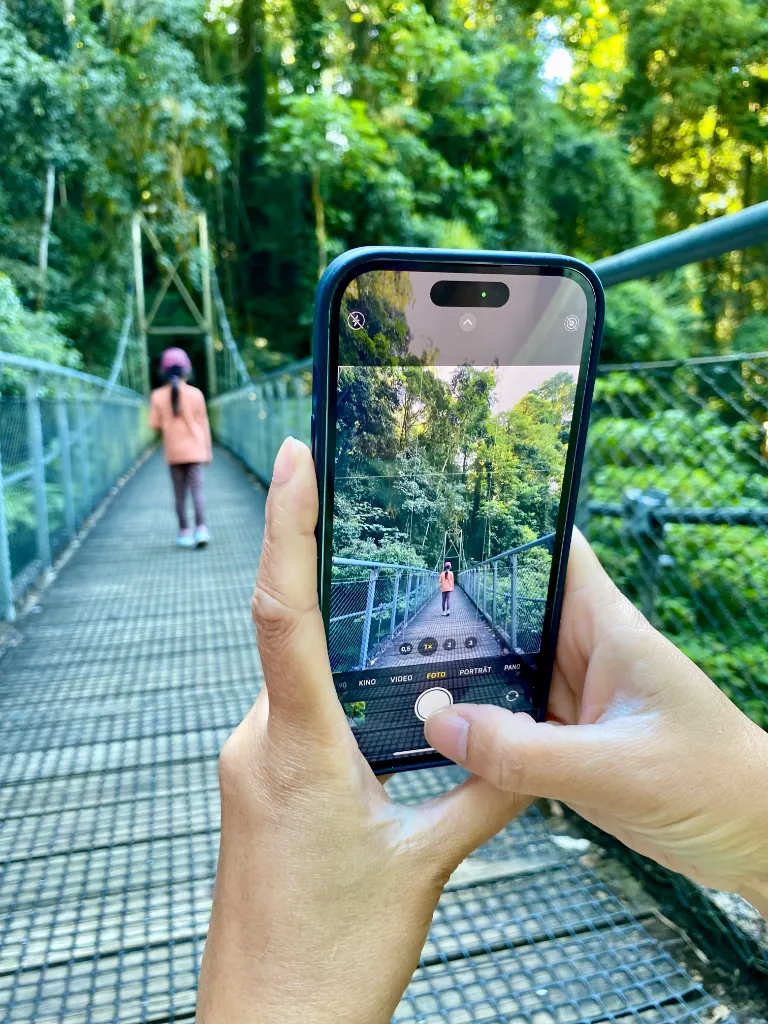
Two-handed iPhone grip close to the scene.

A beautiful iPhone photo with Piximeo.

One-handed iPhone grip close to the scene.

A beautiful iPhone photo with Piximeo.

Two-handed iPhone grip close to the scene.

A beautiful iPhone photo with Piximeo.

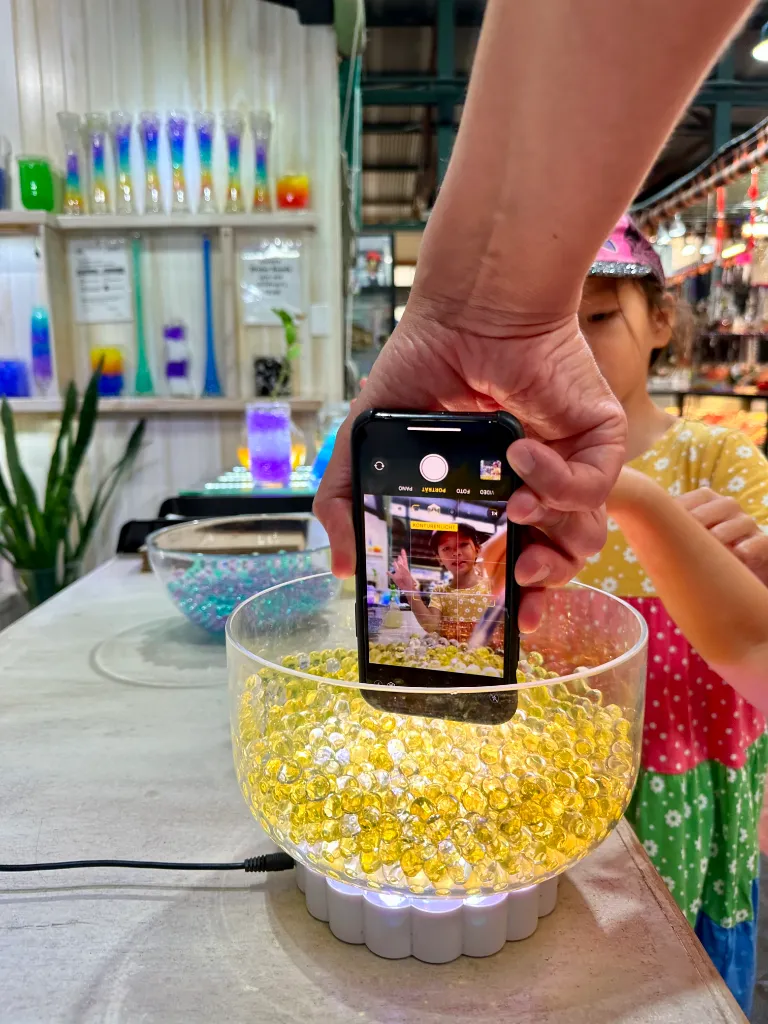
iPhone grip placed into the scene.

A beautiful iPhone photo with Piximeo.

iPhone grip placed into the scene.

A beautiful iPhone photo with Piximeo.

One-Handed iPhone Grip.

A beautiful iPhone photo with Piximeo.

Here you’ll find simple new ways to hold your iPhone that open up new photo possibilities.
The best way to start is to try them right away with your iPhone.
These positions may feel unfamiliar at first. We’re used to holding our phones in the standard scrolling grip.
That is exactly the point. New habits lead to better photos.

Small changes in how you hold your iPhone can change the photo.
👉 Now it is your turn. Try these new grips and see what works for you.
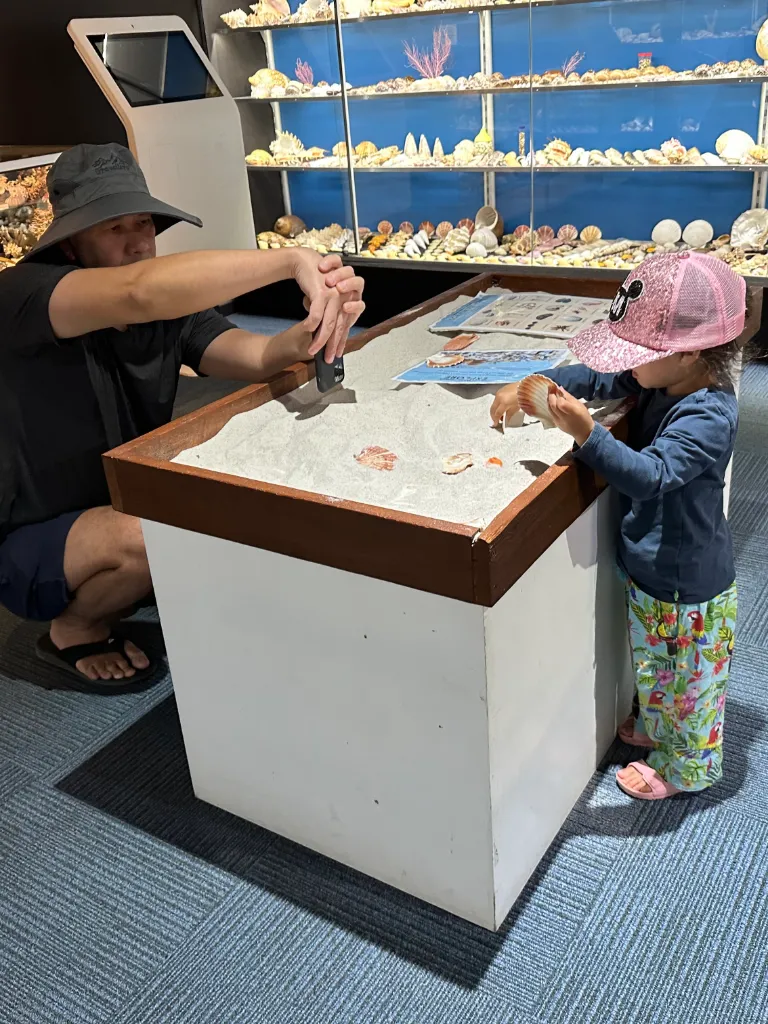
Hold your iPhone close to the surface.

iPhone grip low to the ground.

A beautiful iPhone photo with Piximeo.

Two-handed iPhone grip close to the surface.
A beautiful iPhone photo with Piximeo.

One-handed iPhone grip close to the surface.

A beautiful iPhone photo with Piximeo.

One-handed iPhone grip close to the surface.

A beautiful iPhone photo with Piximeo.
One-handed iPhone grip close to the surface.

A beautiful iPhone photo with Piximeo.
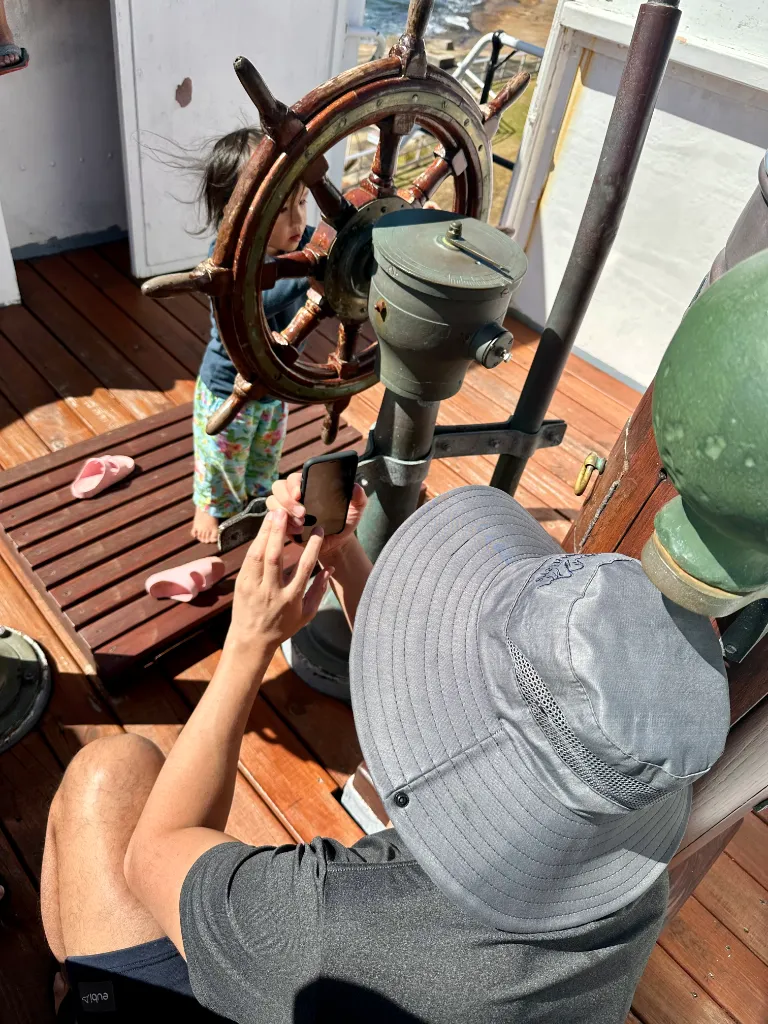
Hold your iPhone into the scene.
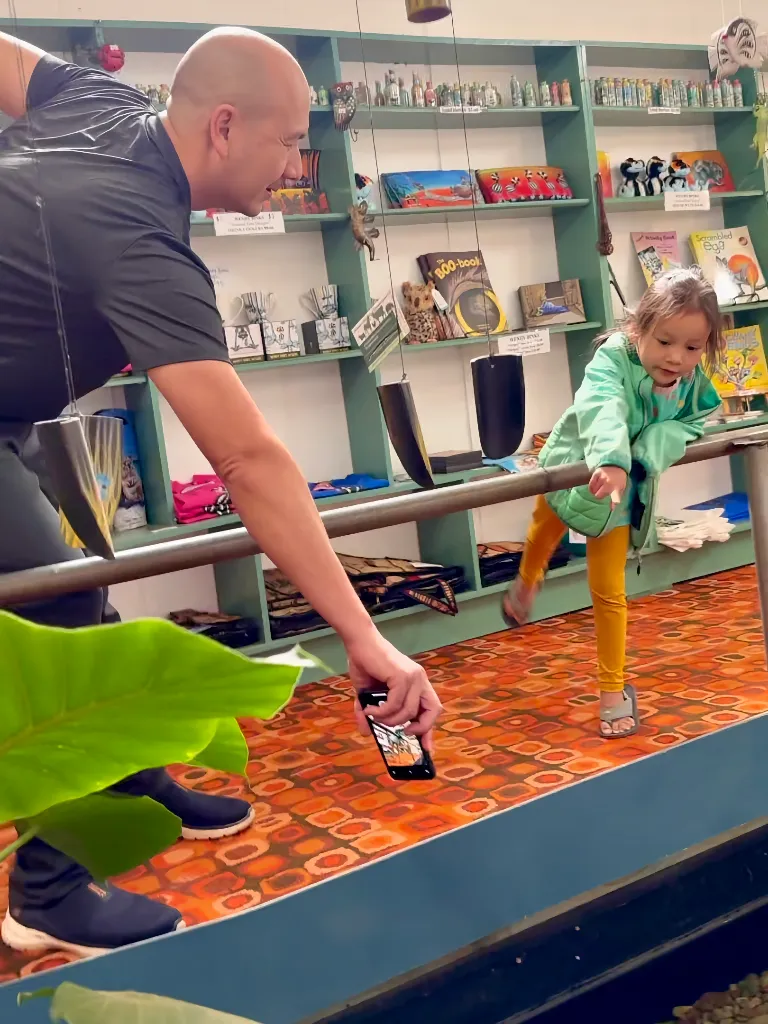
One-handed iPhone grip for more reach.

A beautiful iPhone photo with Piximeo.

One-handed iPhone grip for more reach.

A beautiful iPhone photo with Piximeo.

Two-handed iPhone grip for more reach.

A beautiful iPhone photo with Piximeo.
One-handed iPhone grip for more reach.

A beautiful iPhone photo with Piximeo.
Two-handed iPhone grip for more reach.

A beautiful iPhone photo with Piximeo.
Two-handed iPhone grip for more reach.

A beautiful iPhone photo with Piximeo.

One-handed iPhone grip for more reach.

A beautiful iPhone photo with Piximeo.
Hold your iPhone steady while moving.

One-handed iPhone grip at hip level.

A beautiful iPhone photo with Piximeo.

One-handed iPhone grip at hip level.

A beautiful iPhone photo with Piximeo.
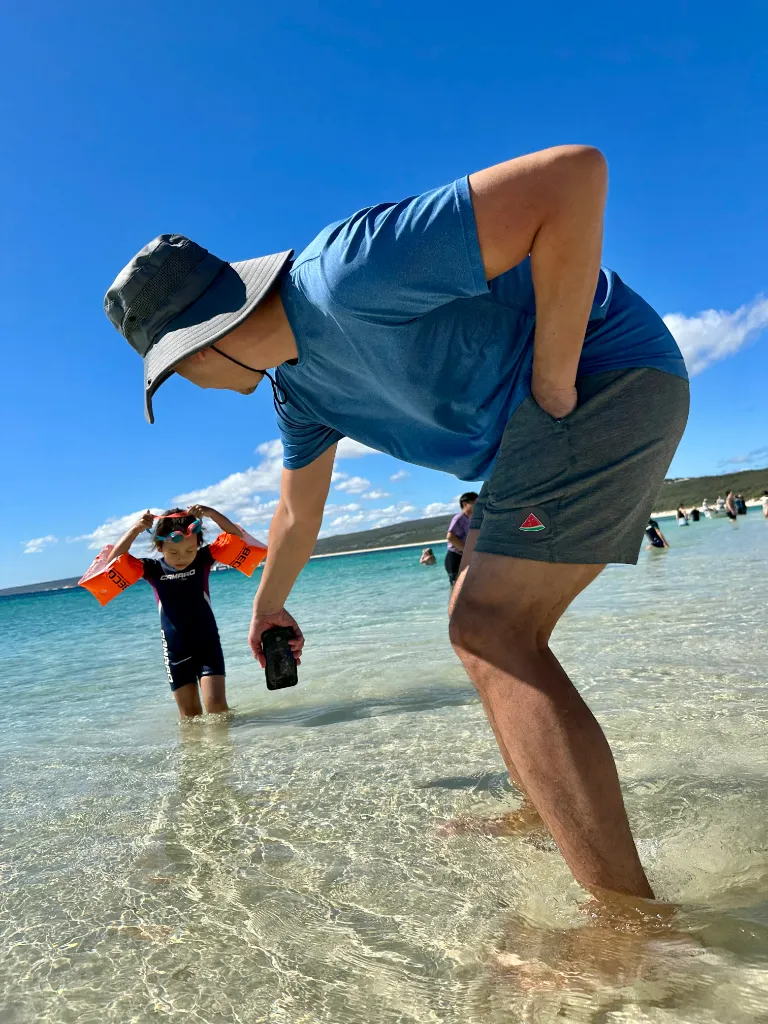
Walk alongside. Crouch down. Step closer. Sometimes even into the water.
When you move while taking photos, you will not always see your screen clearly. That is part of it. Learn to guide your iPhone with intention, even without looking at the display.

Try a few photos without checking the display. Trust your sense of timing and placement.
Move around one object.
Choose something simple, like a chair. Walk around it at a steady pace while holding your iPhone in different positions.
Take several photos.
Photograph from different positions and review the results afterwards.
Evaluate.
How often did you capture the object well? Repeat the exercise until it starts to feel natural.
💡Helpful tip.
Use the volume buttons to take photos while you move. It makes photographing easier and steadier.
👉 With a little practice, this will become one of your most useful photo habits.
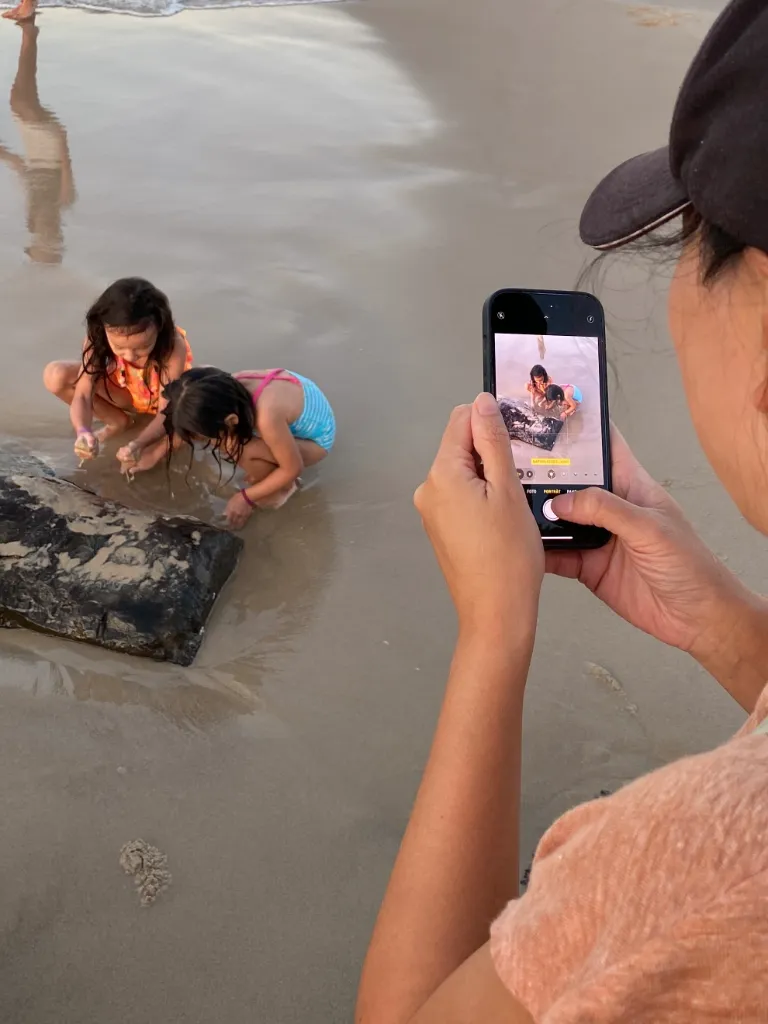
Hold your iPhone at chest or eye level.
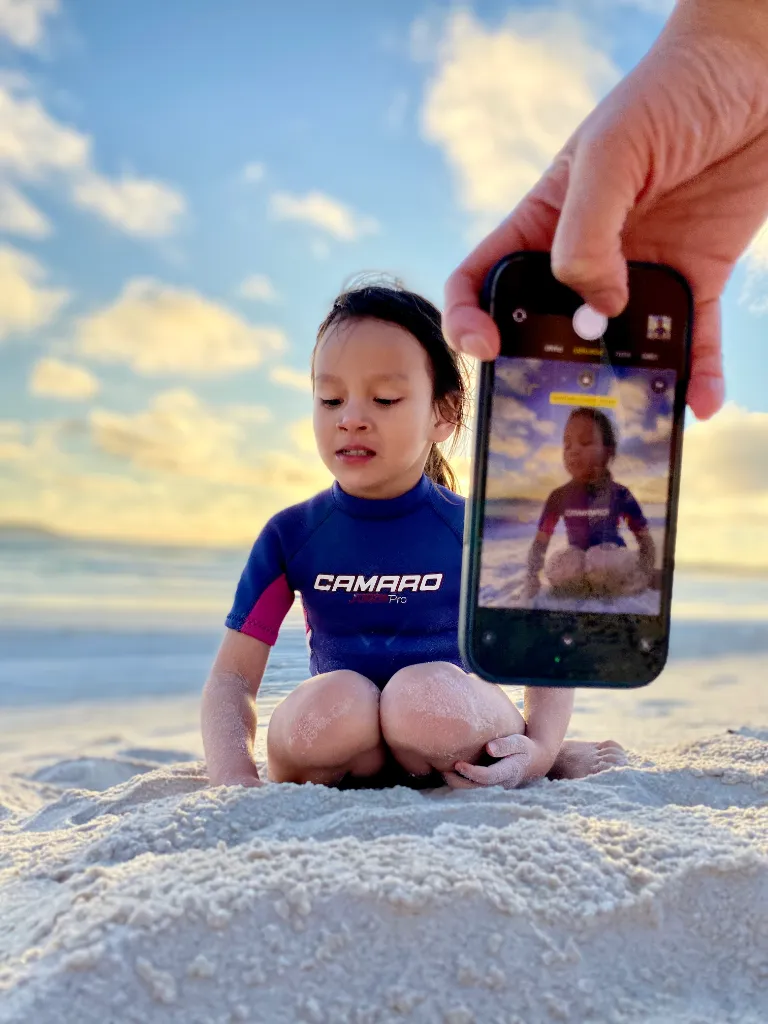
One-handed iPhone grip at chest level.

A beautiful iPhone photo with Piximeo.

One-handed iPhone grip at chest level.

A beautiful iPhone photo with Piximeo.
Two-handed iPhone grip at eye level.

A beautiful iPhone photo with Piximeo.

One-handed iPhone grip at eye level.

A beautiful iPhone photo with Piximeo.
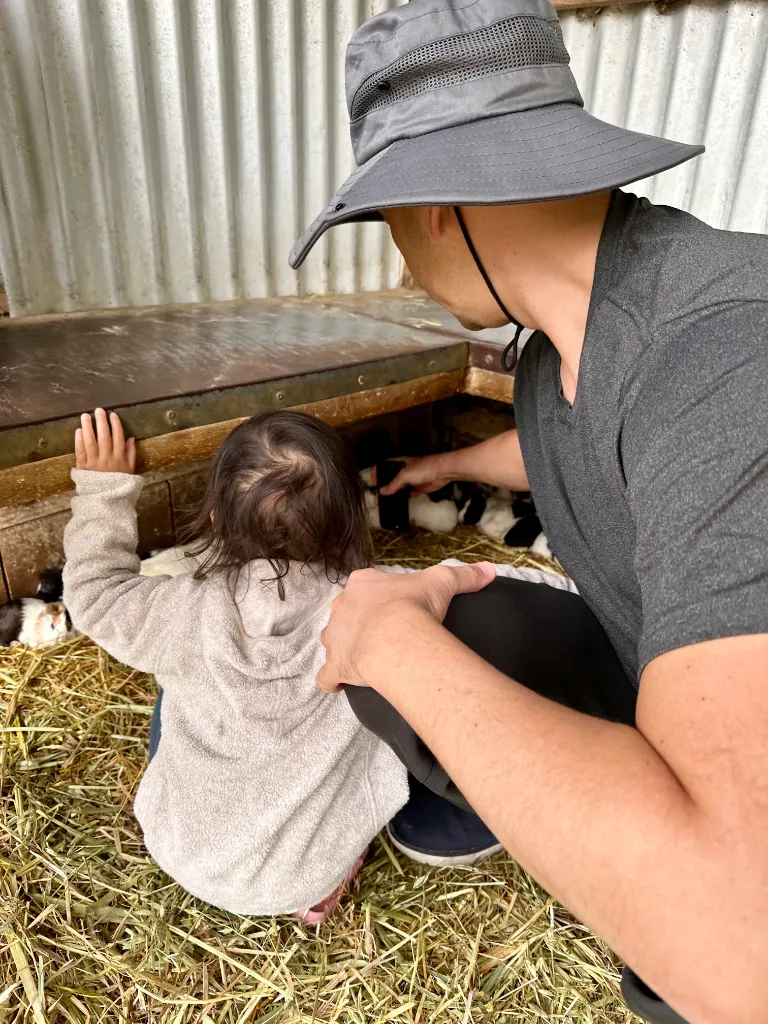
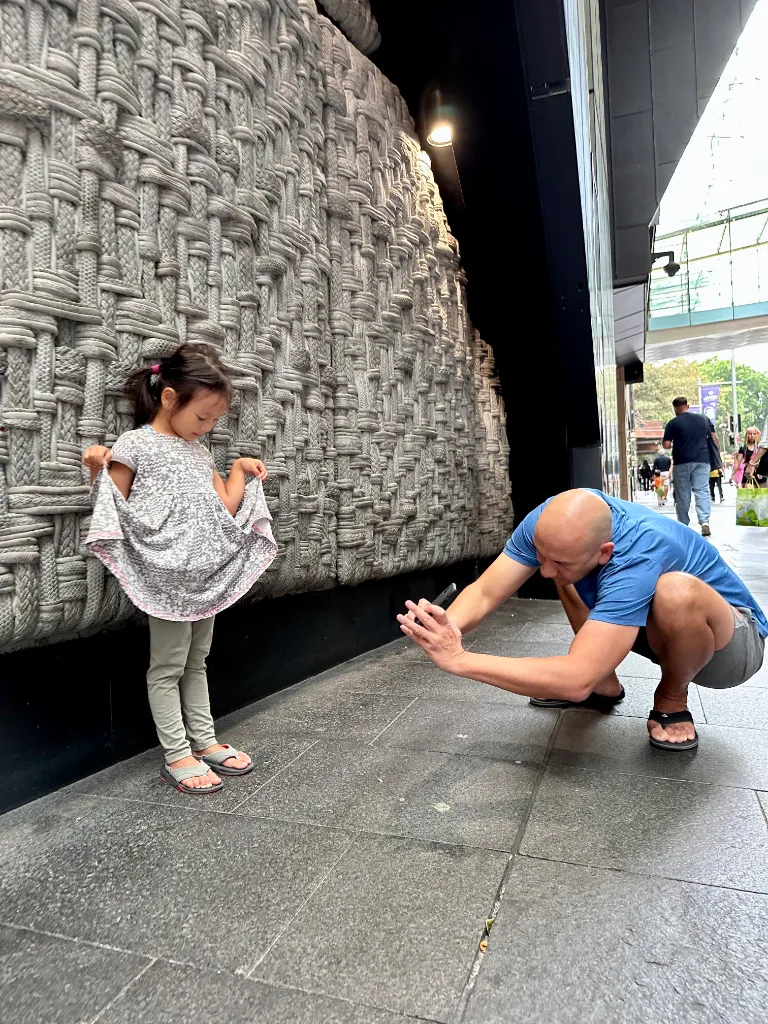
If you want to move beyond typical snapshots, hold your iPhone more often at eye level or slightly below, around chest height. With children, this small shift can make your photos feel more natural and more connected.
A simple change in grip. A clear change in the photo.

Hold your iPhone at eye level or slightly below, around chest height.
Bring your iPhone down to your child’s level.
Notice how the photo changes.

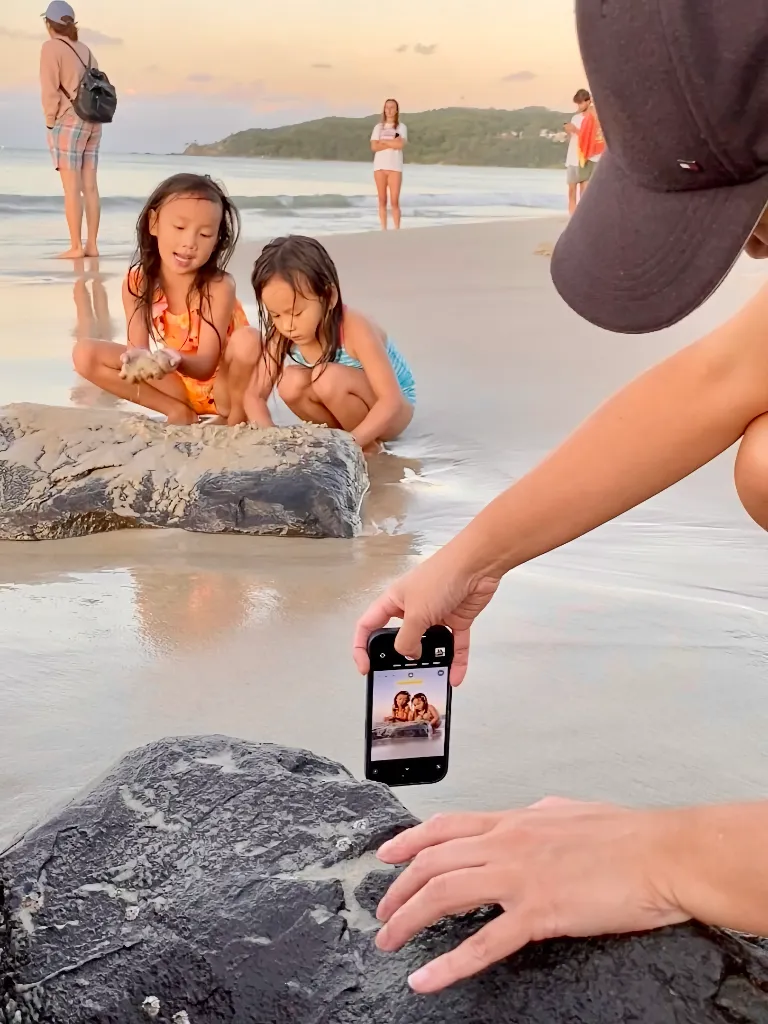
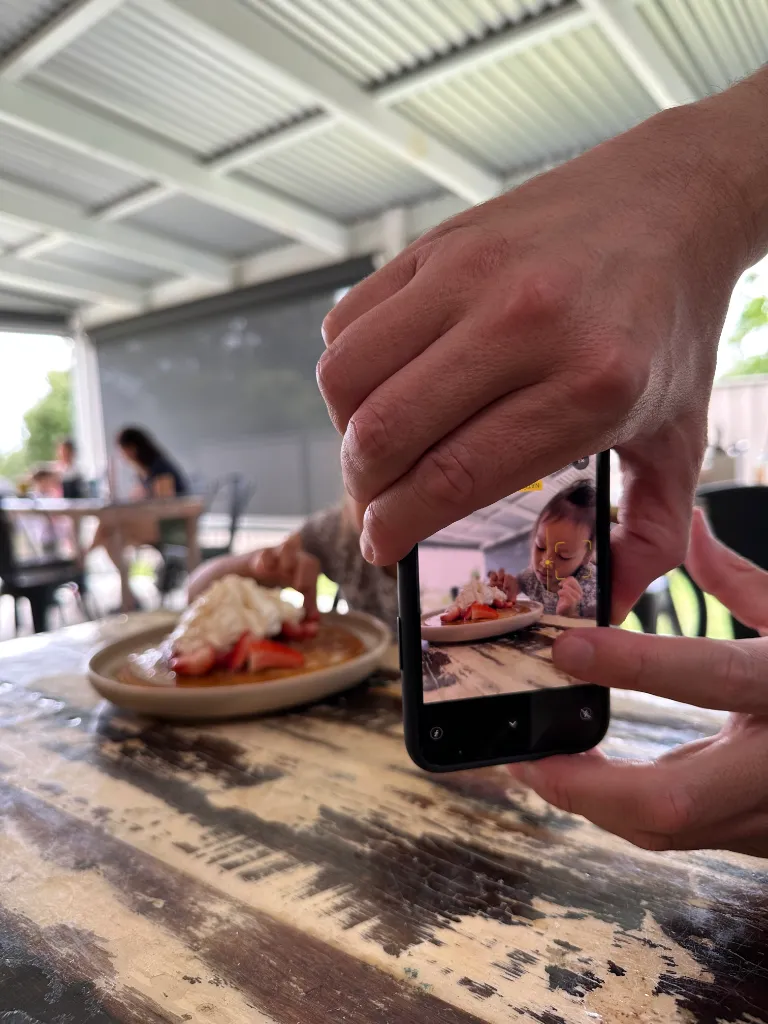
Rest your iPhone on objects for more stable photos.

iPhone grip leaned against an object.

A beautiful iPhone photo with Piximeo.

iPhone grip leaned against an object.

A beautiful iPhone photo with Piximeo.

iPhone grip supported on an object.

A beautiful iPhone photo with Piximeo.
For steadier photos, a little more support helps. Use your second hand when you can. Or rest your iPhone on a solid object nearby.
A small shift. More stability.

 Exercise. Try different grips.
Recreate the example positions and take a few practice photos.
Use the volume buttons.
They give you more control and make it easier to stay steady.
Notice what changes.
Your photos may already feel steadier, closer, and more intentional.
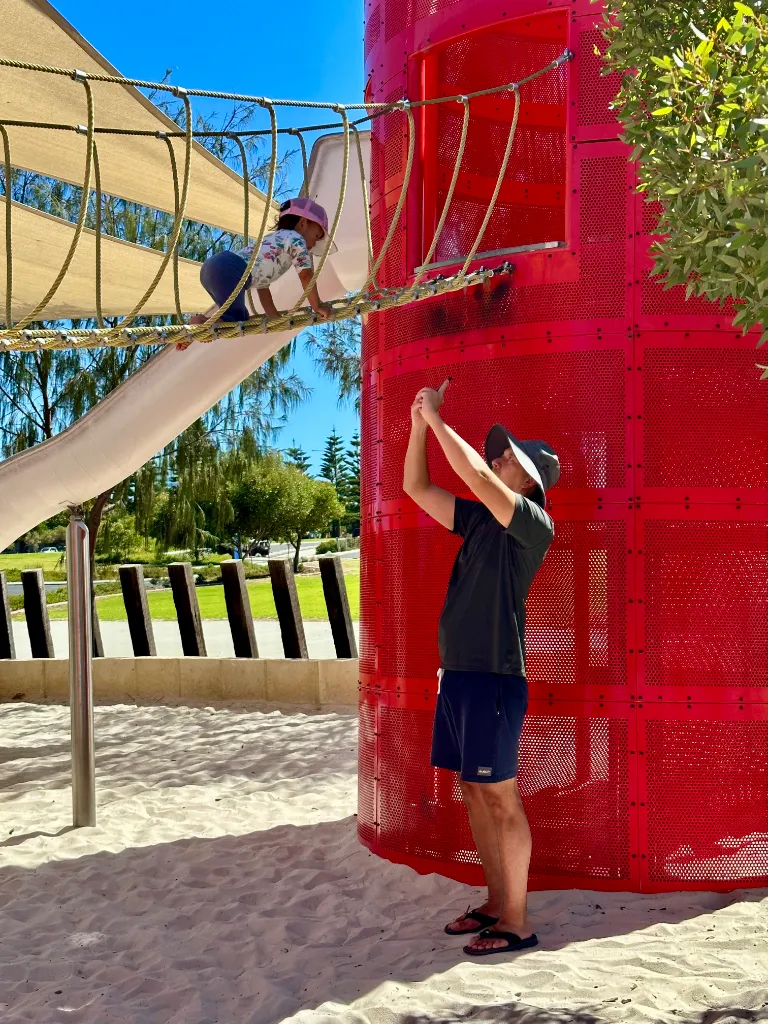
Go lower.
Hold your iPhone close to the ground, like in the training visuals, and notice how the position changes the photo.

👉 The more you try, the more natural it becomes.
See different iPhone grips up close.

One-handed iPhone grip up close.

One-handed iPhone grip up close.

Two-handed iPhone grip up close.
Two-handed iPhone grip up close.

Two-handed iPhone grip up close.
Two-handed iPhone grip up close.

Two-handed iPhone grip up close.

One-handed iPhone grip up close.
One-handed iPhone grip up close.

Two-handed iPhone grip up close.

Support hand. More stability. More control. Less shake.
In about 80% of cases, a simple shift helps.
Hold your iPhone upside down, with the camera lens pointing toward the ground.
Why?

👉 Upside down helps.
The lens sits lower. That gives you more reach close to the ground.
👉 Vertical makes it easier.
This grip works especially well when you hold your iPhone upright.
👉 Handling feels simpler.
In this position, one-handed use often feels easier and more controlled.
👉 The buttons are easier to reach.
The volume buttons sit in a more natural place for taking photos.
💡Good to know.
Your iPhone automatically rotates the photos, so they appear correctly in your library.
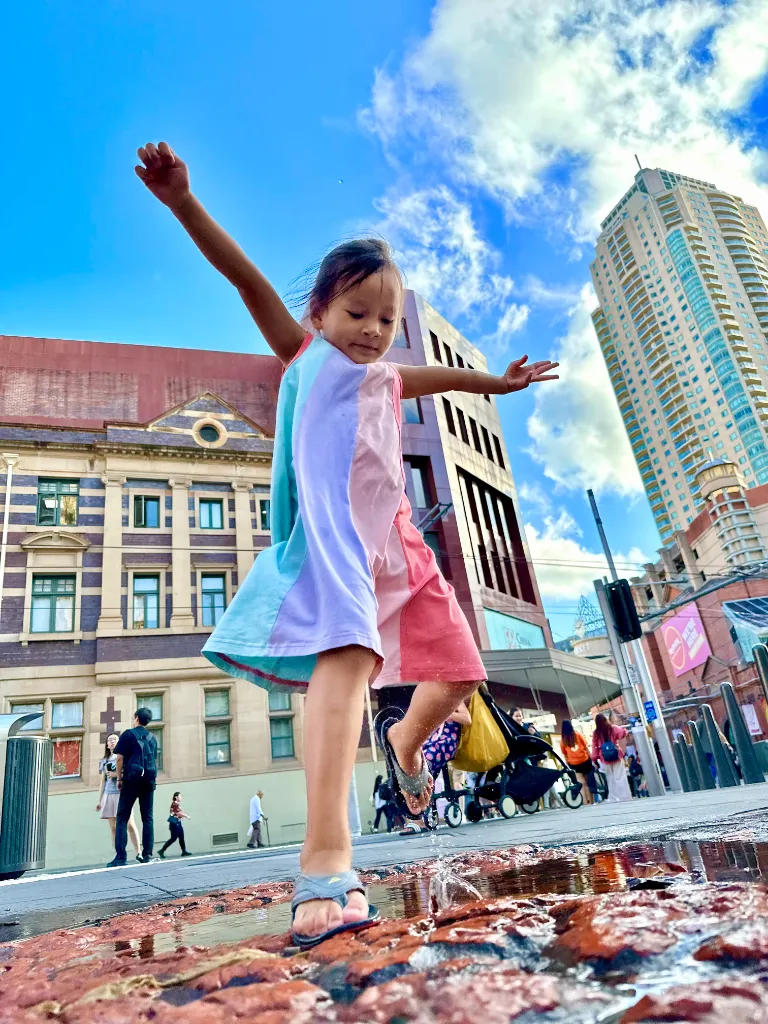
See the kinds of results you can already achieve by applying what you’ve learned in Module 1.

iPhone photo skills after Module 1.

iPhone photo skills after Module 1.

A beautiful iPhone photo after Module 1.

A beautiful iPhone photo after Module 1.

A beautiful iPhone photo after Module 1.

A beautiful iPhone photo after Module 1.

Photo example from Module 2.
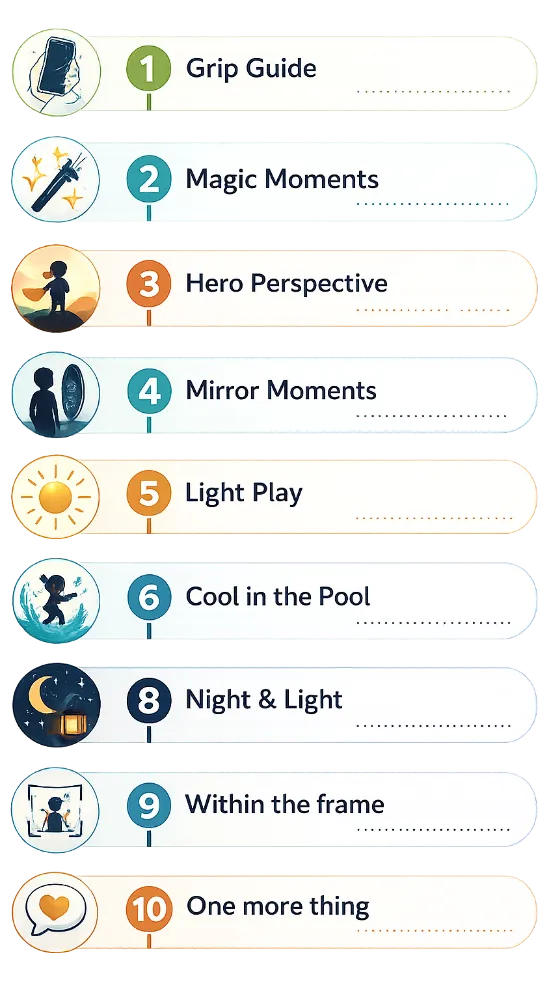
Magic Moments

Photo example from Module 2.
Magic Moments

Photo example from Module 2.
Magic Moments

Photo example from Module 2.
Magic Moments

✅ You’ve already seen what Module 1 can do and how Piximeo works in real life.
✅ Modules 2–10 build on the same practical, hands-on approach, with more techniques, more guidance, and more depth.
✅ By the end of the course, you’ll know how to get more out of every iPhone photo you take.

Photo Example. Module 3.
Hero Perspective
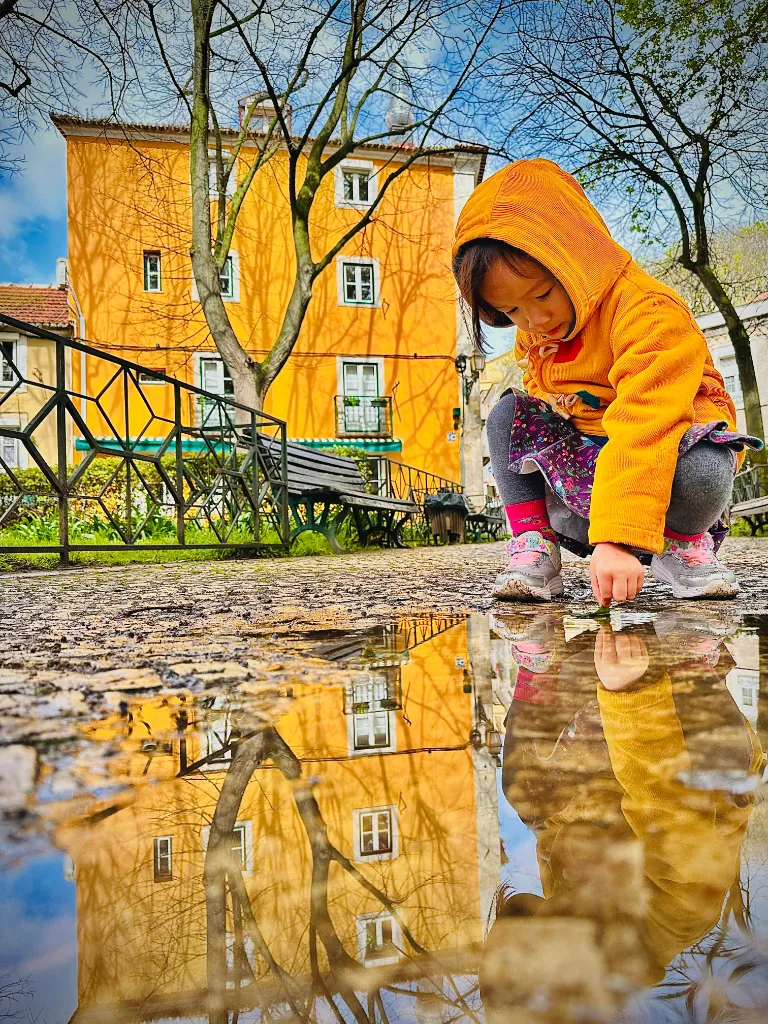
Photo Example. Module 4.
Mirror Moments

Photo Example. Module 5.
Light Play
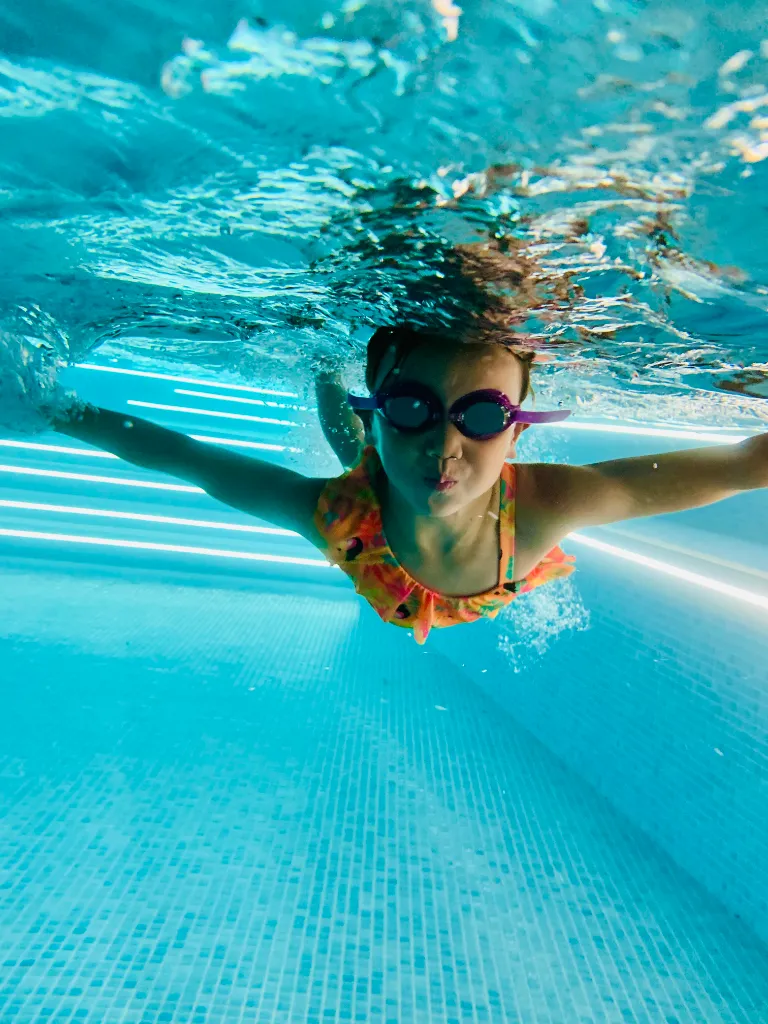
Photo Example. Module 6.
Cool in the Pool

Photo Example. Module 7.
Facing little wonders

Photo Example. Module 8.
Night & Light

Photo Example. Module 9.
Within the frame

Photo Example. Module 10.
One more thing

More modules available soon.


